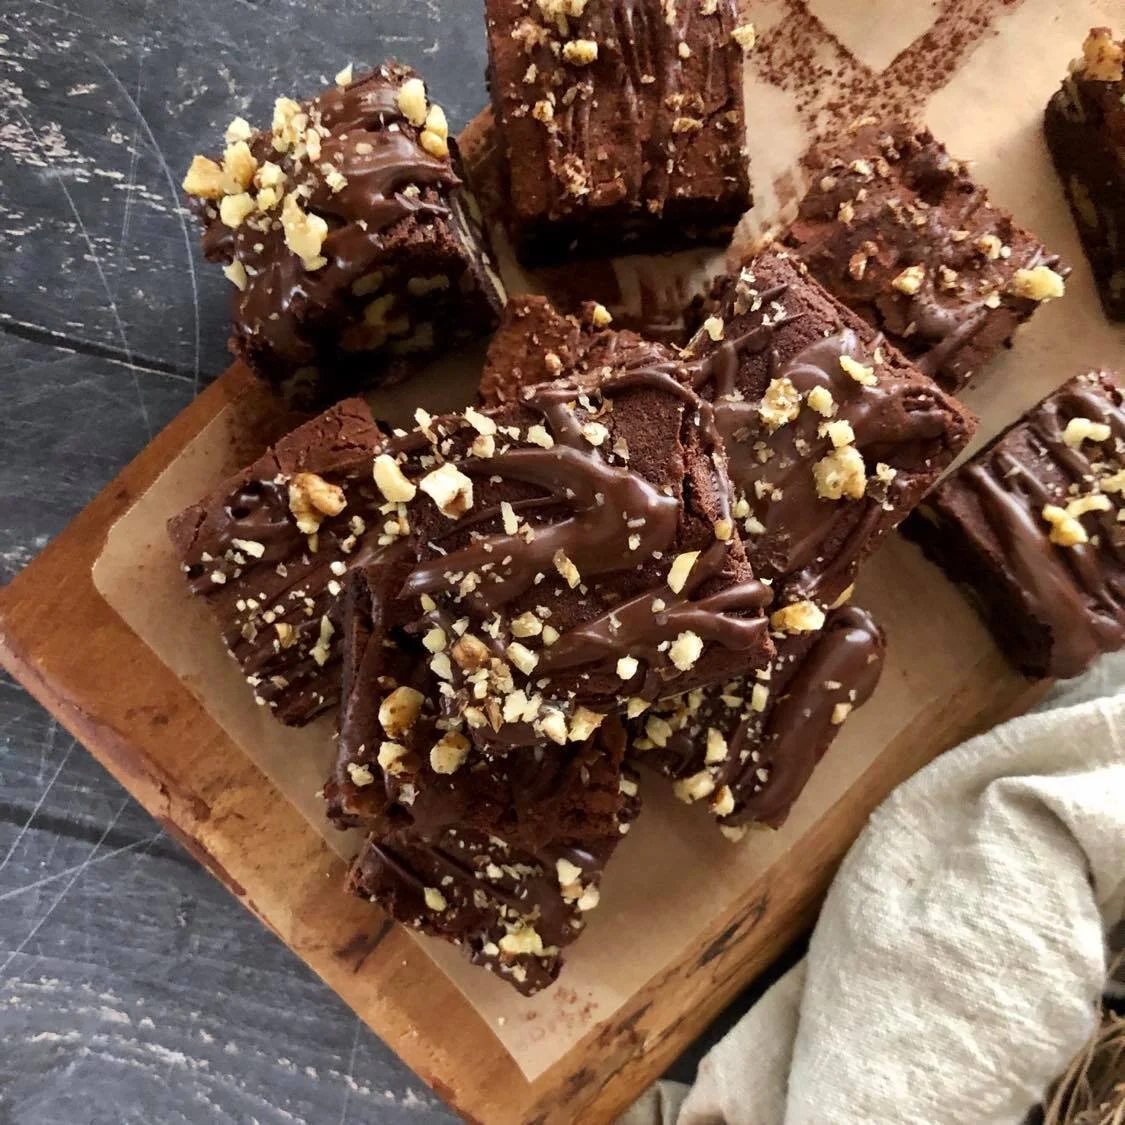
Traditional Chocolate and Walnut Brownies
This is a good old-fashioned rich chocolate brownie recipe – there is nothing raw or vegan about it!

This recipe is super simple with basic ingredients, but people always comment on how much they love it. I got this recipe from the lovely Pip and Tom Hay from when I was working at the Collingwood Children farm kitchen in my early twenties and haven’t stopped making it since. I believe it is an old PMWU recipe, but I have not yet been able to find the original recipe. I think this has to be one of my most made recipes ever – I could make this recipe in my sleep.
Chocolate and walnut brownies
Prep time: 20 minutes
Cook time: 45 minutes
Serves: About 16 squares
Dietary notes: Gluten Free variation provided
Ingredients
375g of caster sugar
225g of unsalted butter (if using salted butter, omit the addition of salt)
100g of Dutch processed cocoa
115g of plain flour
3 large eggs
1 teaspoon of vanilla paste
1 cup of roughly chopped raw walnuts (or another nut)
2 tablespoons of brandy or other alcohol (optional)
½ teaspoon of salt
Method
Pre heat the oven to 160 degrees Celsius. Grease and line a high-sided oven tray (about 20cm x 30cm) with non-stick baking paper. Place butter and sugar in a mixing bowl of an electric mixer and beat really well until it’s pale and creamy. You will need to scrape down the side a few times to make sure the mixture is creaming evenly. This process should take about ten minutes; it makes all the difference to the end product if this mixture is light and fluffy so be patient and don’t rush this step.

You want you mix to look like this - flurry, creamy and pale brown.
When you are happy, add eggs one at a time beating well in between. Add the vanilla and brandy and mix briefly before adding the flour and cocoa. Mix on low until combined. Add the nuts and mix through evenly. Pour into a baking tray, spread the mixture evenly and bake for about 45 minutes or until just cooked.
As every oven is different you will need to use your own judgment as how long it needs to be cooked. You don't want to over cook it, so make sure it’s just past the wobbly stage. Shake the tray very gently and you want to see just the tiniest bit of movement still in the mixture - this means it’s ready. You want to cook it to a less firm stage than you would a cake.
Cool, place in fridge to harden up and cut into squares. Feel free to add a topping such as ganachè and chopped walnuts or just simply sifted cocoa. These freeze well and last for up to a week in the fridge. I like to eat them when they are nice and cold straight out of the fridge as I think this makes them more fudge. But they can also be served at room temperate, or even warm with ice cream yum!
Gluten free variation: Simply replace the flour with a combined 100g of almond (or another nut meal) and 115g of gluten free flour.